Create new branch
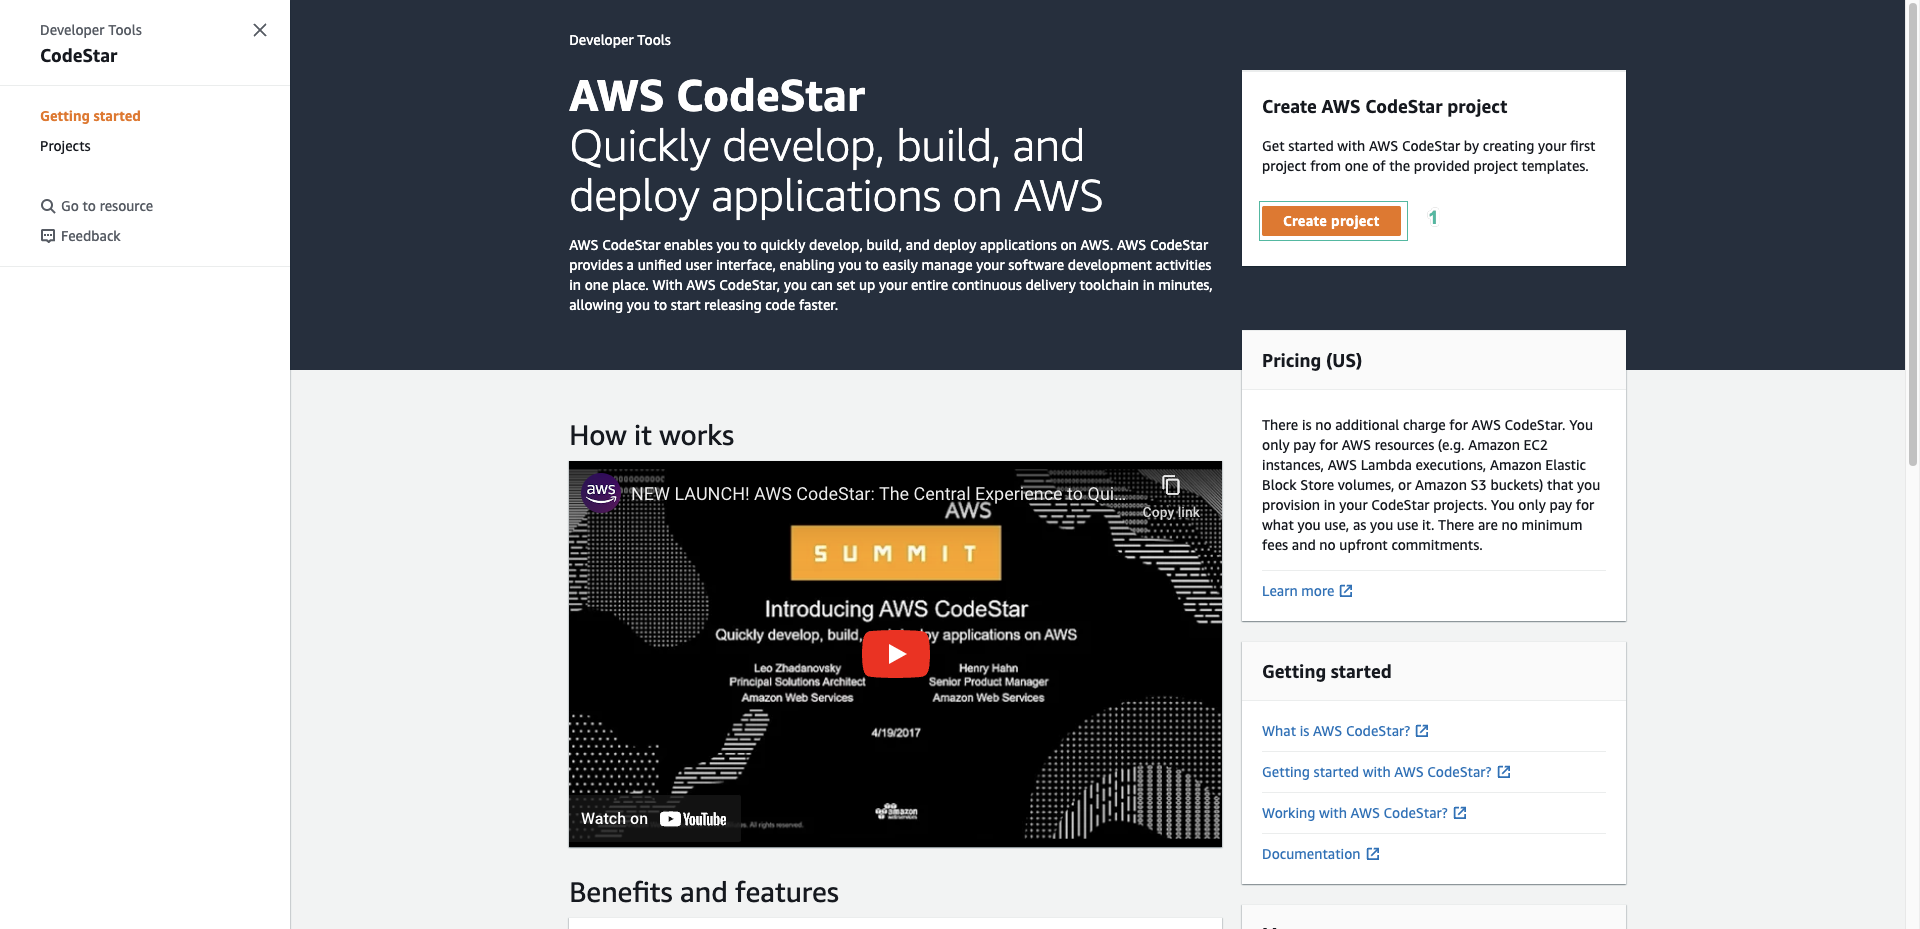
Now that you have hands-on experience creating and deploying AWS Lambda functions, it’s time to go back to our monolithic TravelBuddy application and deploy a microservice on AWS Lambda managed through a CI/CD pipeline. created with AWS CodeStar.
- Open AWS Code Star console and click Create Project.
-
We will need to create a service role for the code star the first time we use it. Click Create service role. You will see many template tags.
-
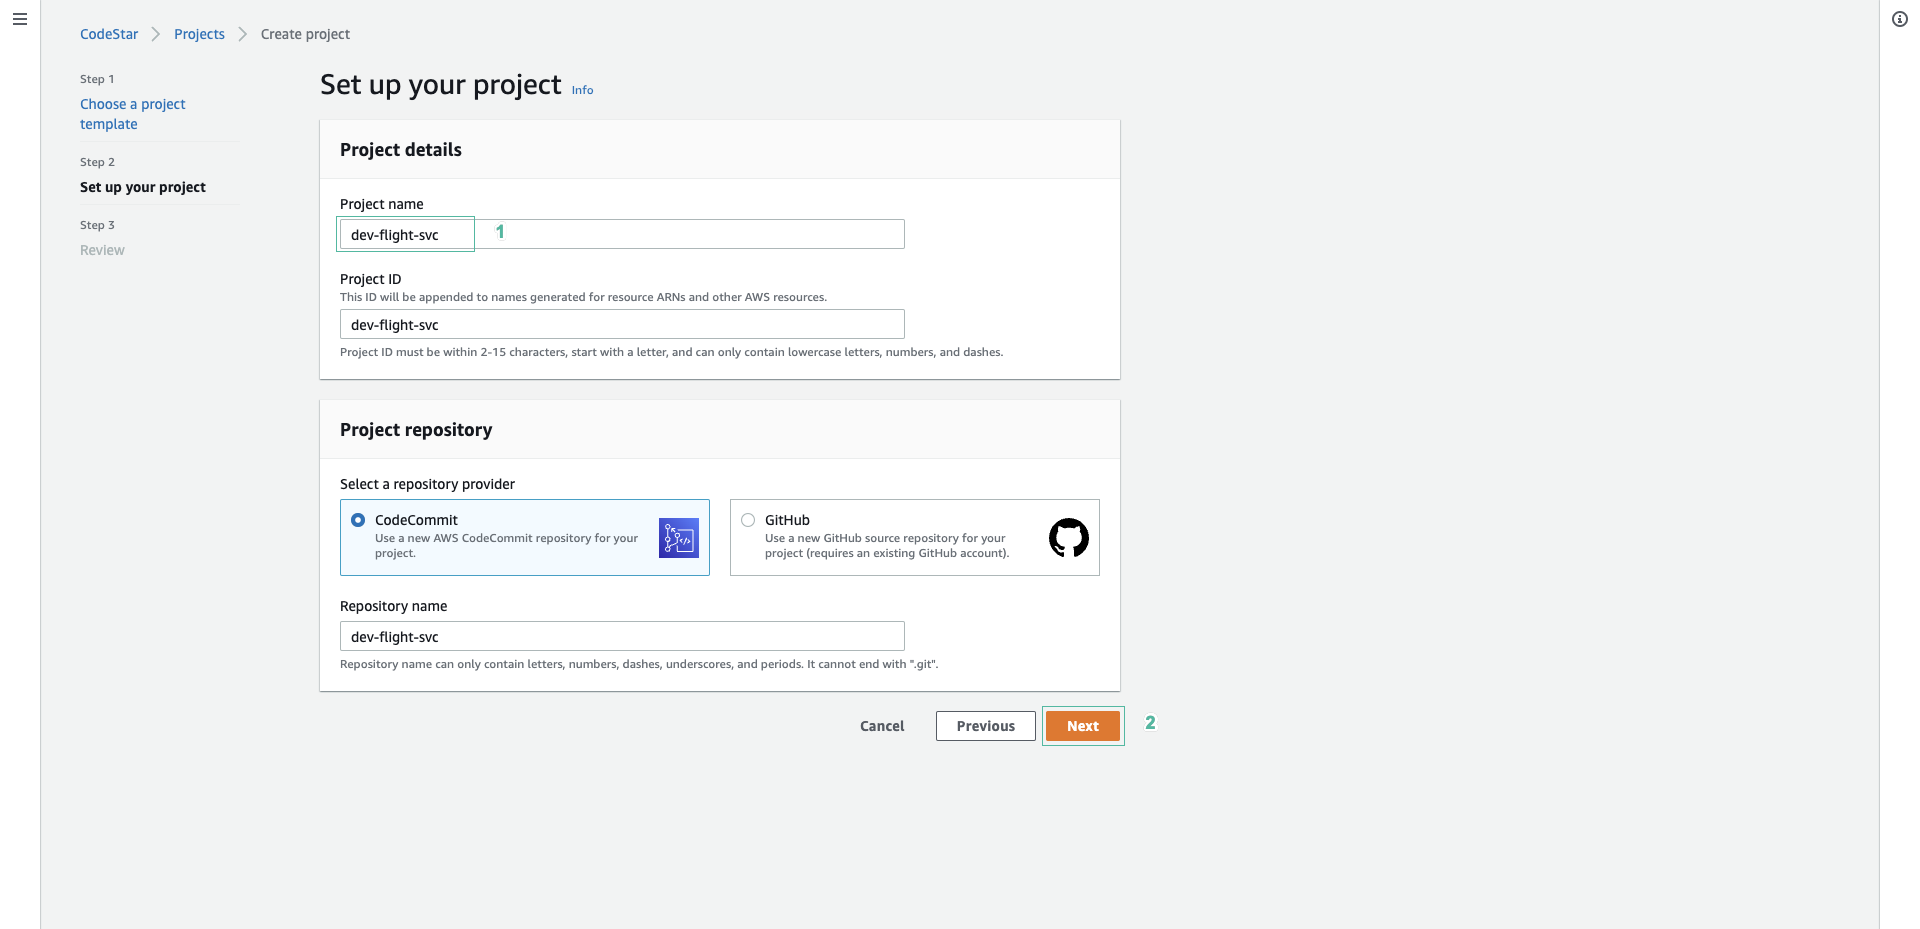
Because the program source code is written in Java, we will choose the following options:
- AWS Lambda
- Web services
- Java
Select Java Spring and click Next

- In Project name section, enter
dev-flight-svc. - Select Code Commit , click Next and click Create Project.
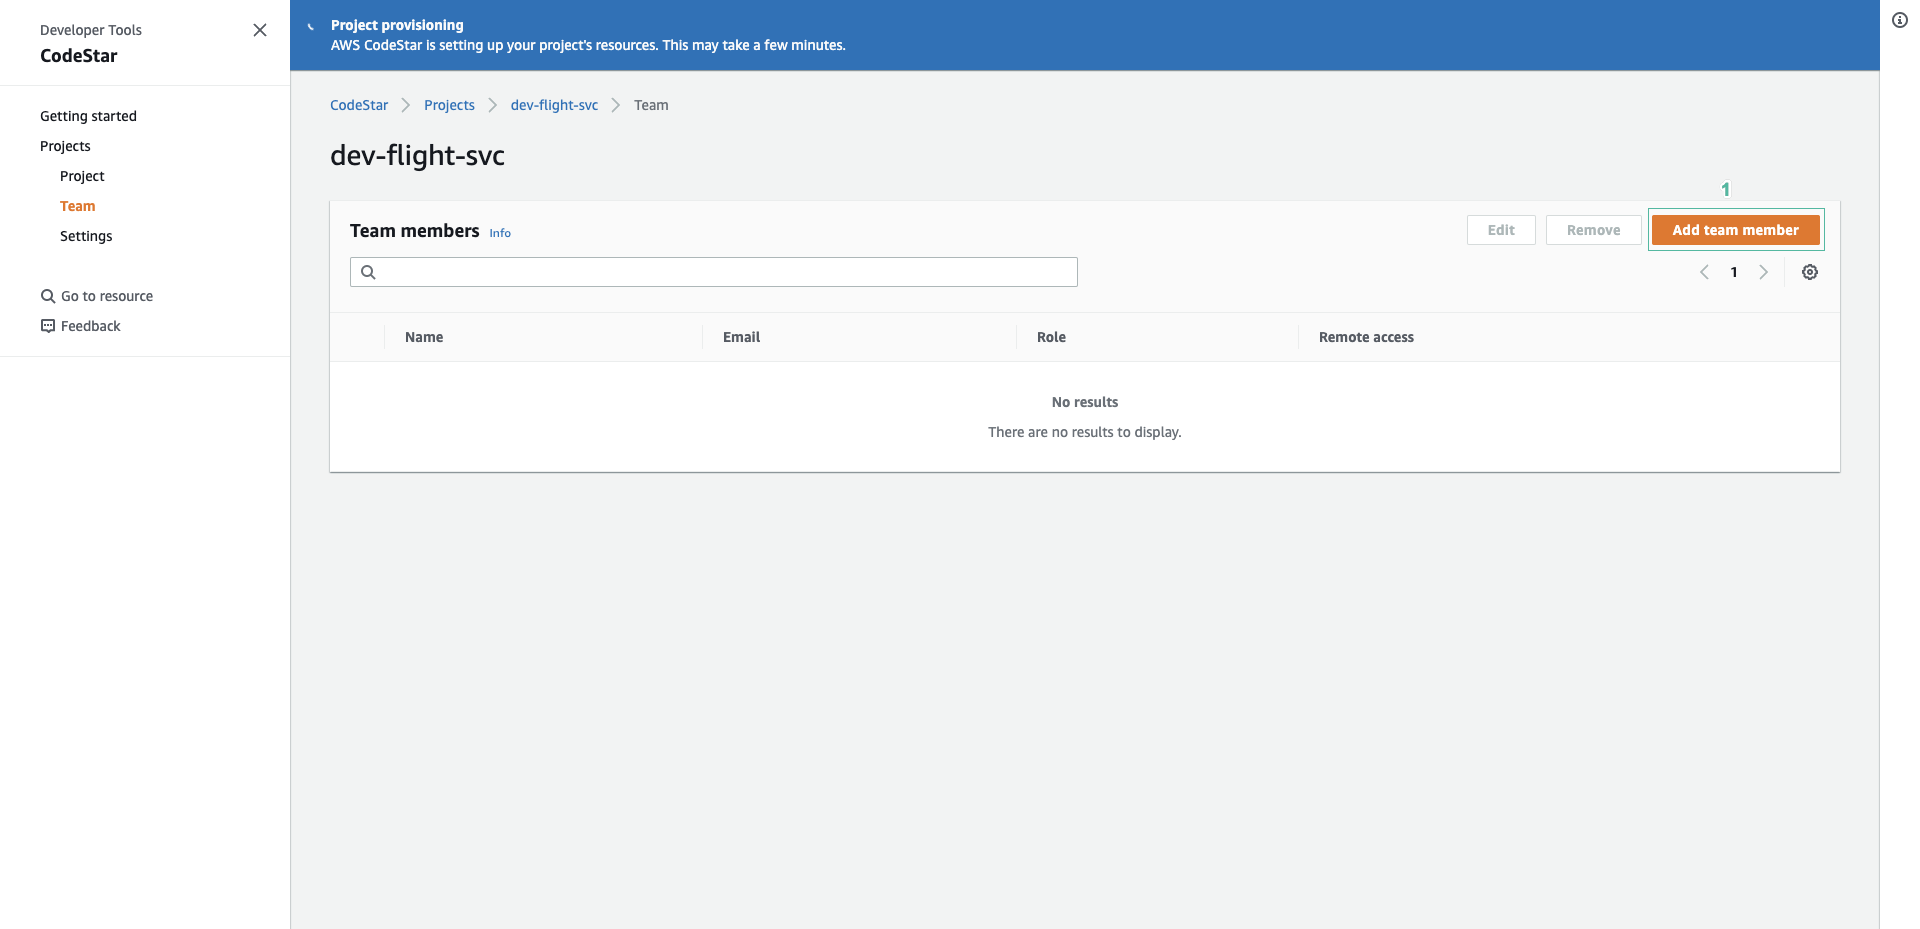
- Select Team, then click Add team member
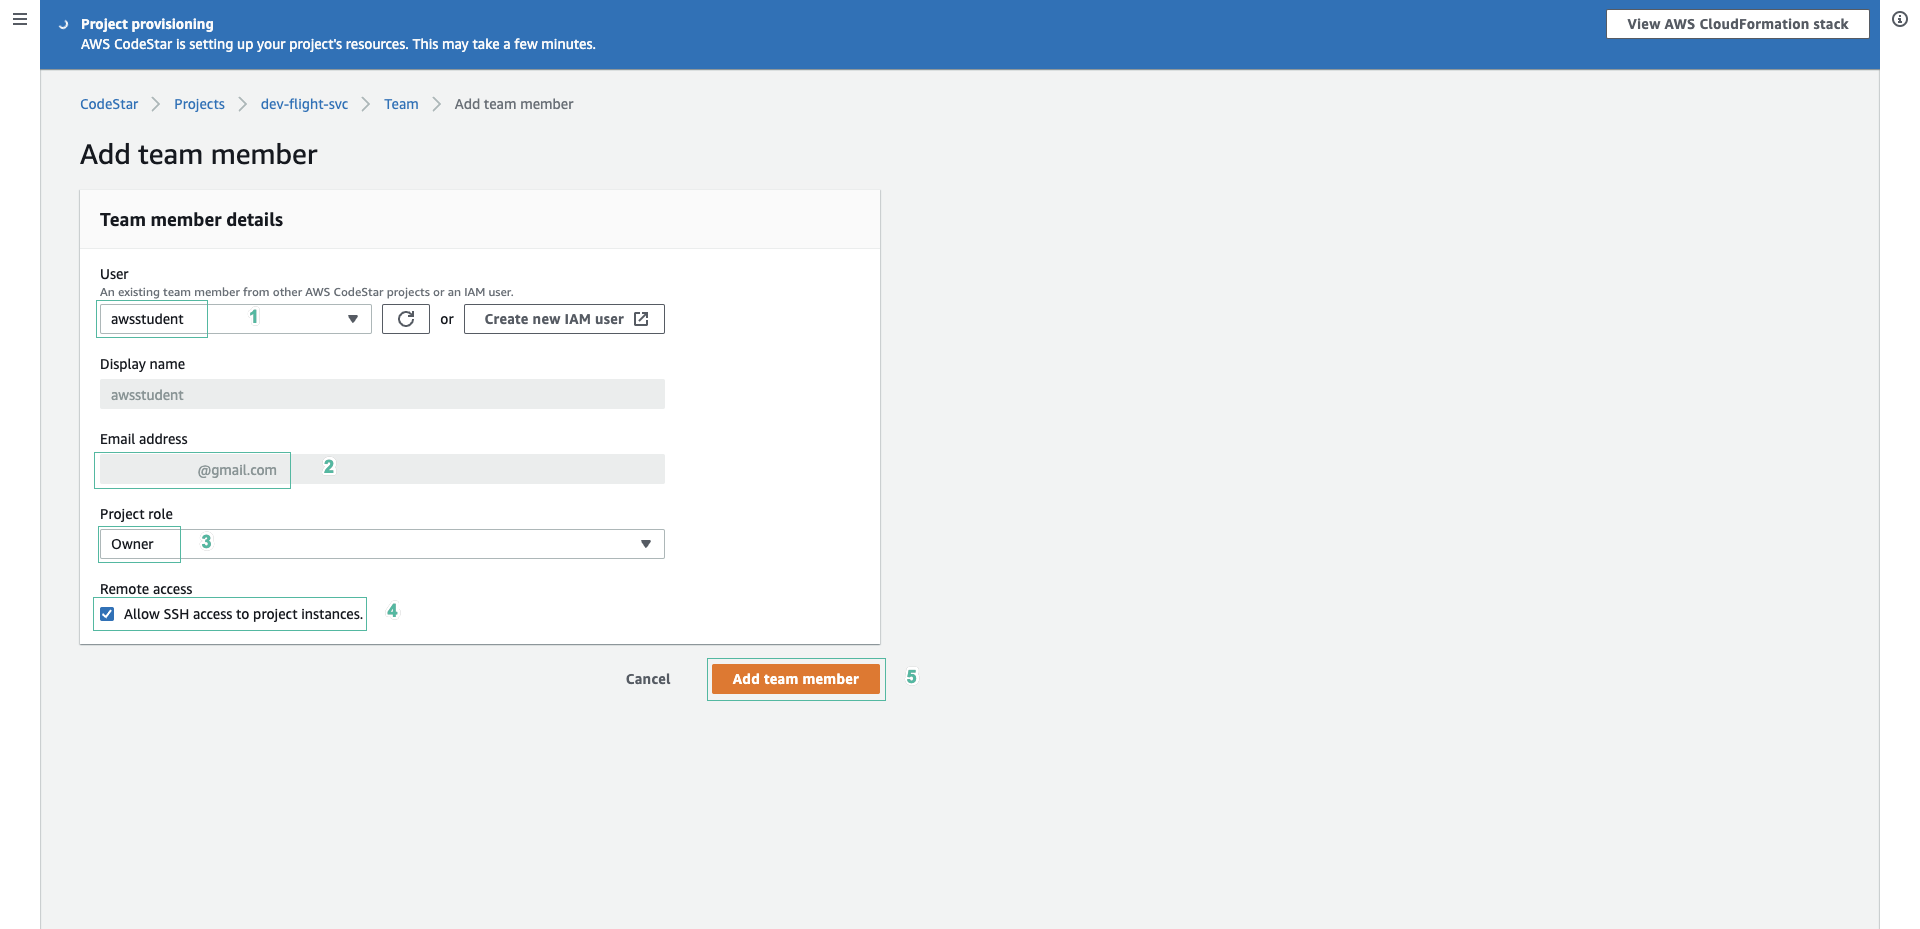
- Select awsstudent.
- Enter email if first time add.
- Select Owner permission.
- Select Remote access.
- Then click Add team member.
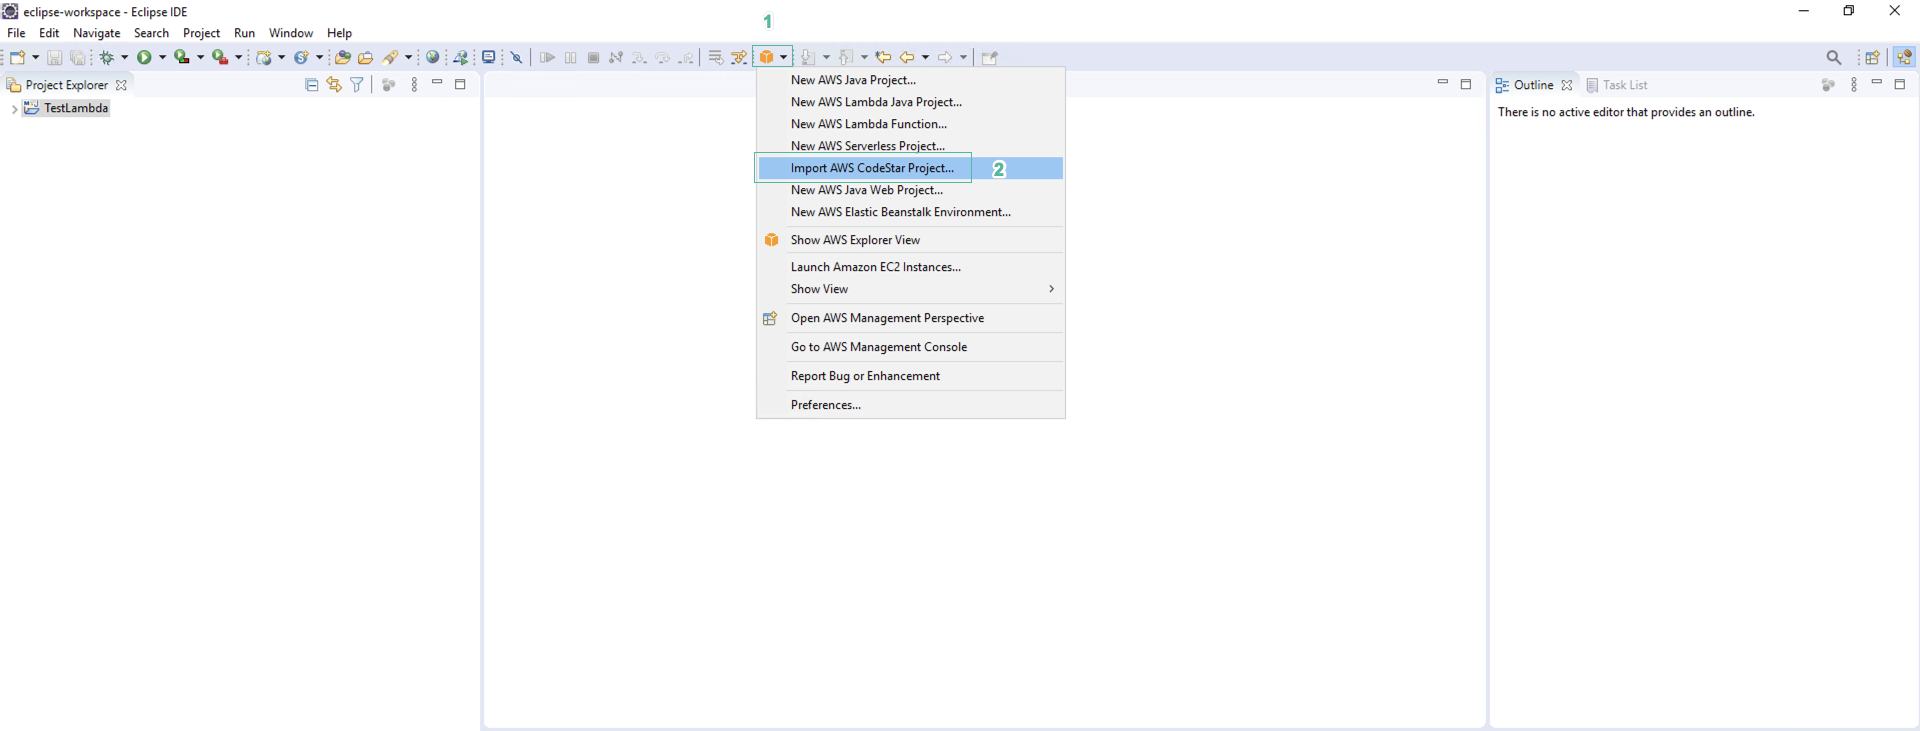
- Open Eclipse IDE, find AWS symbol and select it to open menu.
- Select Import AWS CodeStar Project
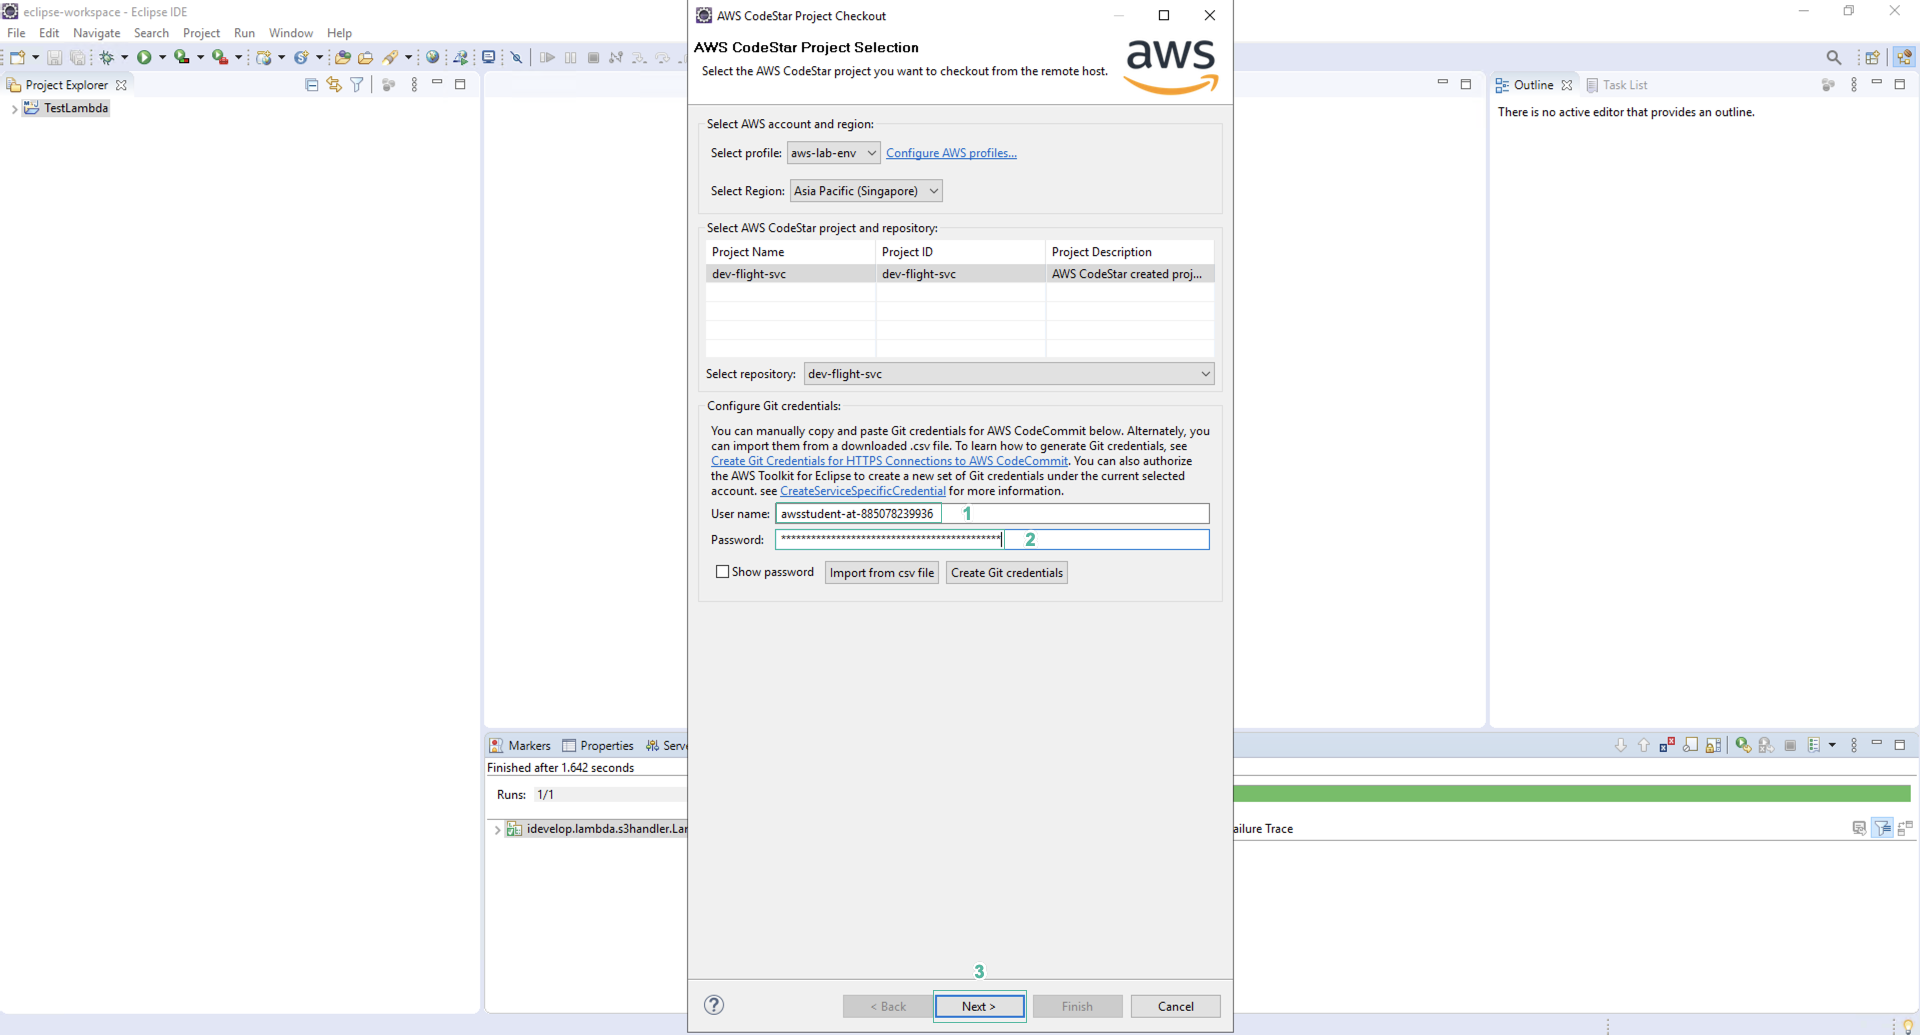
- Select dev-flight-svc in list and select dev-flight-svc in repository.
- Enter Git credentials. Information about Git credentials can be viewed in the Output section of the AWS Cloudformation of the first stack we created in the preparation phase. Click Next.
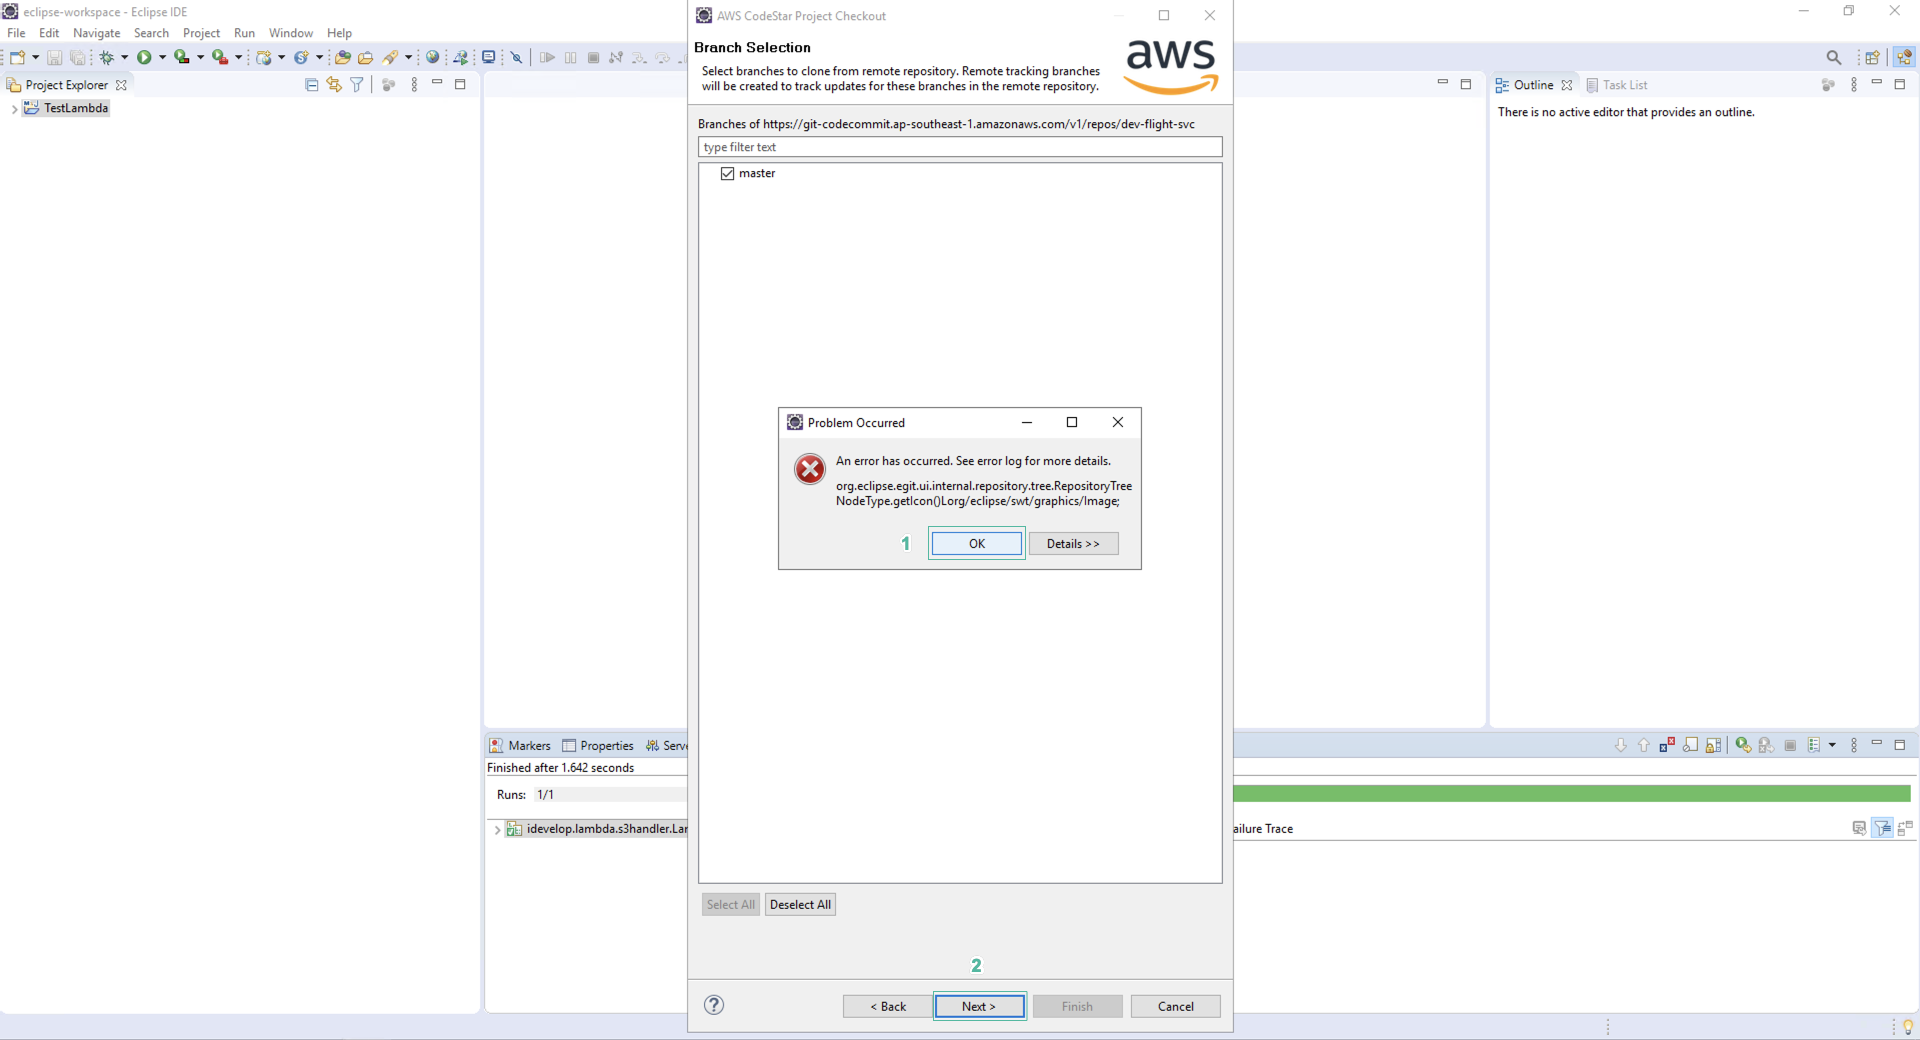
- Select master branch and click Next. If an error message appears, click OK to close.
- Click Finish
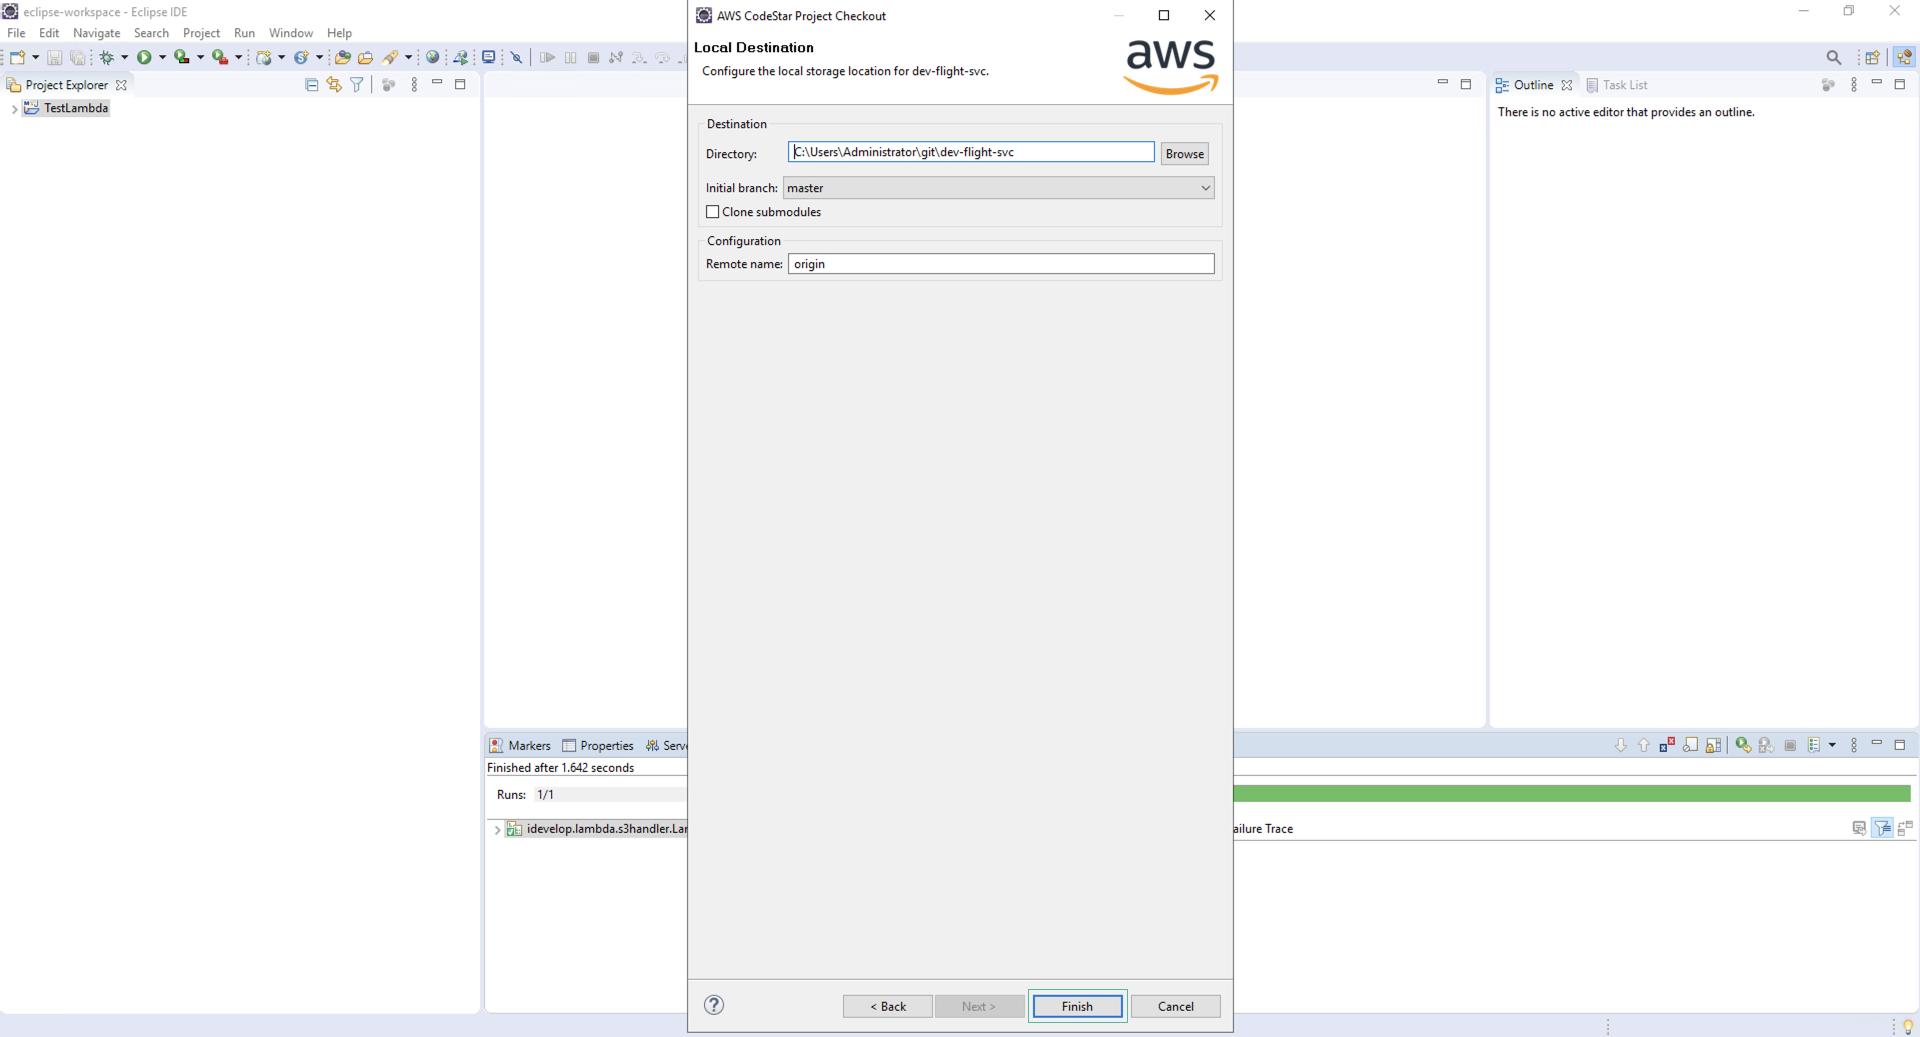
The IDE will now download the files from the CodeCommit repository.
- Take a moment to look at the project structure before continuing. The HelloWorld microservice represents a simple handler that returns the Hello World web page when called.